Easy Chocolate Layer Cake
The pressure builds and you start counting down minutes until you eat. You totally remember the first time I tried making a chocolate cake in my pressure cooker. I was nervous, but oh man, it turned out so good it kinda knocked my socks off. The smell alone hits you before you even open the lid.
Every minute it steams you get those little steam cues, that hiss from the valve, and you catch yourself sneakin’ a peek at the timer. You start feelin’ that excitement creeping up as it gets closer. It’s kinda like waiting for a present, but instead it’s edible and warm.
When you finally do the quick release or sometimes the slow release if you’re feeling patient, you open the lid to a warm, soft cake that’s just perfect. The layers are so moist cause the pressure cooking seals in that chocolate goodness. It’s honestly one of those moments you don’t forget.
The Real Reasons You Will Love This Method
- Pressure cooking locks in moisture way better than your usual oven.
- You get fast cook time without losing any flavor or texture.
- The steam cues and valve hiss keep things exciting while you wait.
- Natural release gives you that perfect gentle finish to the cake.
- No drying out on the edges like sometimes happens with baking.
- It’s a great way to impress friends without tons of fuss.
- You can totally enjoy homemade cake anytime you want without heating up your whole kitchen.
Everything You Need Lined Up
- 1 and 3/4 cups (219g) all-purpose flour spooned and leveled
- 3/4 cup (62g) unsweetened natural cocoa powder
- 1 and 3/4 cups (350g) granulated sugar
- 2 teaspoons baking soda and 1 teaspoon baking powder
- 1 teaspoon salt and 2 teaspoons espresso powder (optional)
- 1/2 cup (120ml) vegetable oil or your fave oil substitute
- 2 large eggs, room temperature and 2 teaspoons pure vanilla extract
- 1 cup (240ml) buttermilk and 1 cup (240ml) freshly brewed strong hot coffee
For the frosting, you’ll want 1 and 1/4 cups (282g) unsalted butter softened to room temp. Then add 3 and 1/2 cups (420g) confectioners’ sugar and 3/4 cup (62g) cocoa powder. A few tablespoons of heavy cream help smooth it out along with a pinch of salt and 1 teaspoon vanilla extract for that final touch. Semi-sweet chocolate chips make a great decoration if you’re feelin’ fancy.
Your Complete Cooking Timeline
- Preheat pressure cooker by running a quick warm-up or using the sauté function for a couple minutes.
- Grease and flour your cake pans real good so cake doesn’t stick.
- In a large bowl, sift together the flour, cocoa, baking soda, baking powder, salt, and espresso powder if using. This keeps things airy and helps mix evenly.
- In another bowl, whisk sugar, oil, eggs, and vanilla extract till it’s all smooth and shiny.
- Gradually add the dry stuff into wet, stirring just till combined. Overmixing can make your cake tough.
- Pour in that hot coffee and buttermilk and stir lightly till you got a thin batter. It’ll look a bit runny but that’s totally okay.
- Pour batter evenly into the cake pans, then place them on a trivet or rack inside your pressure cooker. Add a cup of water below for the steam.
- Seal the lid and cook on high pressure for about 25 minutes. Use natural release for 10 minutes before quick releasing the rest to avoid deflating the cake.
Time Savers That Actually Work
- Line your pans with parchment paper early so you don’t waste time scrubbing later.
- Mix dry ingredients the night before, so it’s ready to just dump in the wet stuff in the morning.
- Use pre-measured coffee in a thermal mug to keep it hot but ready to pour fast.
- Clean as you go especially the bowls you don’t need anymore to keep counter space clear.
When You Finally Get to Eat
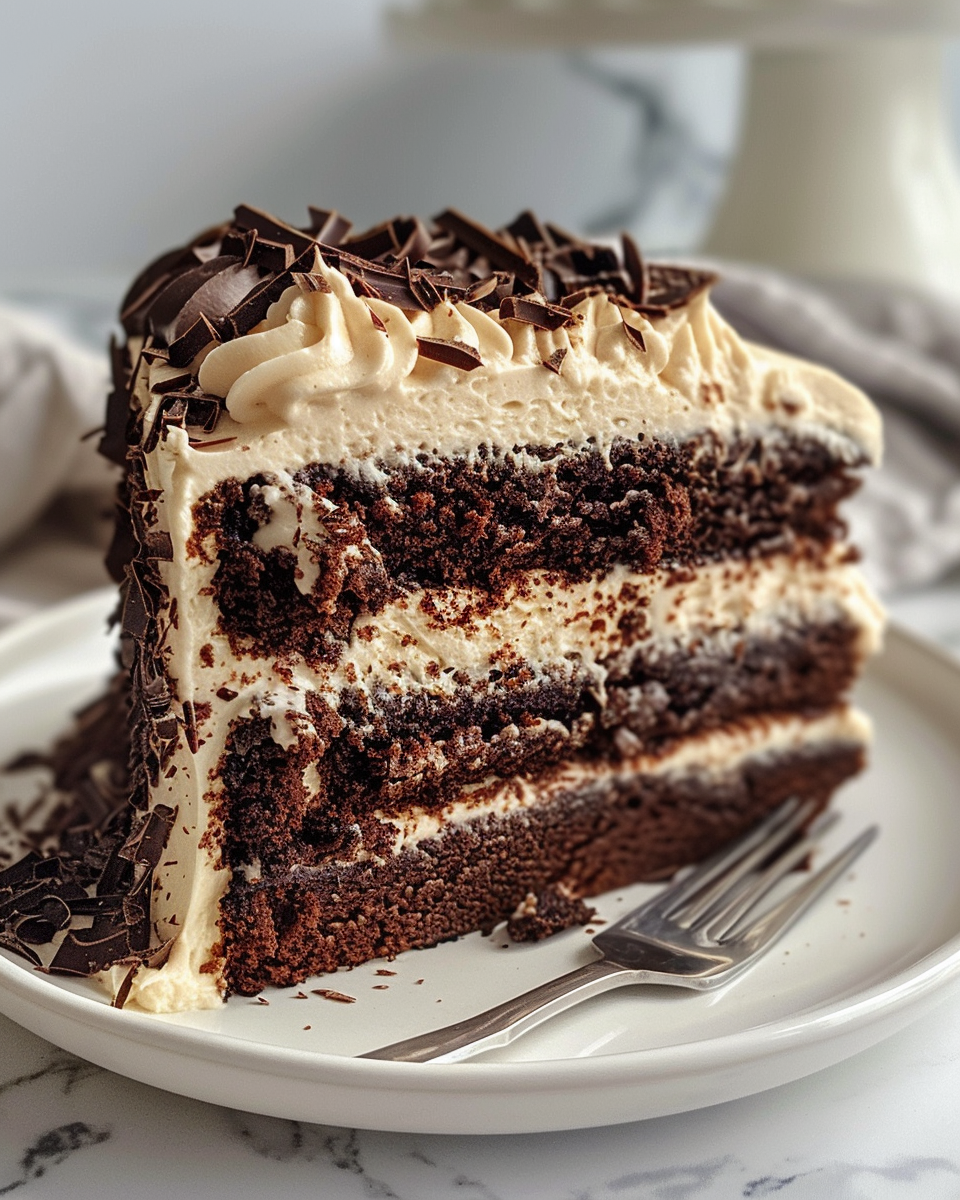
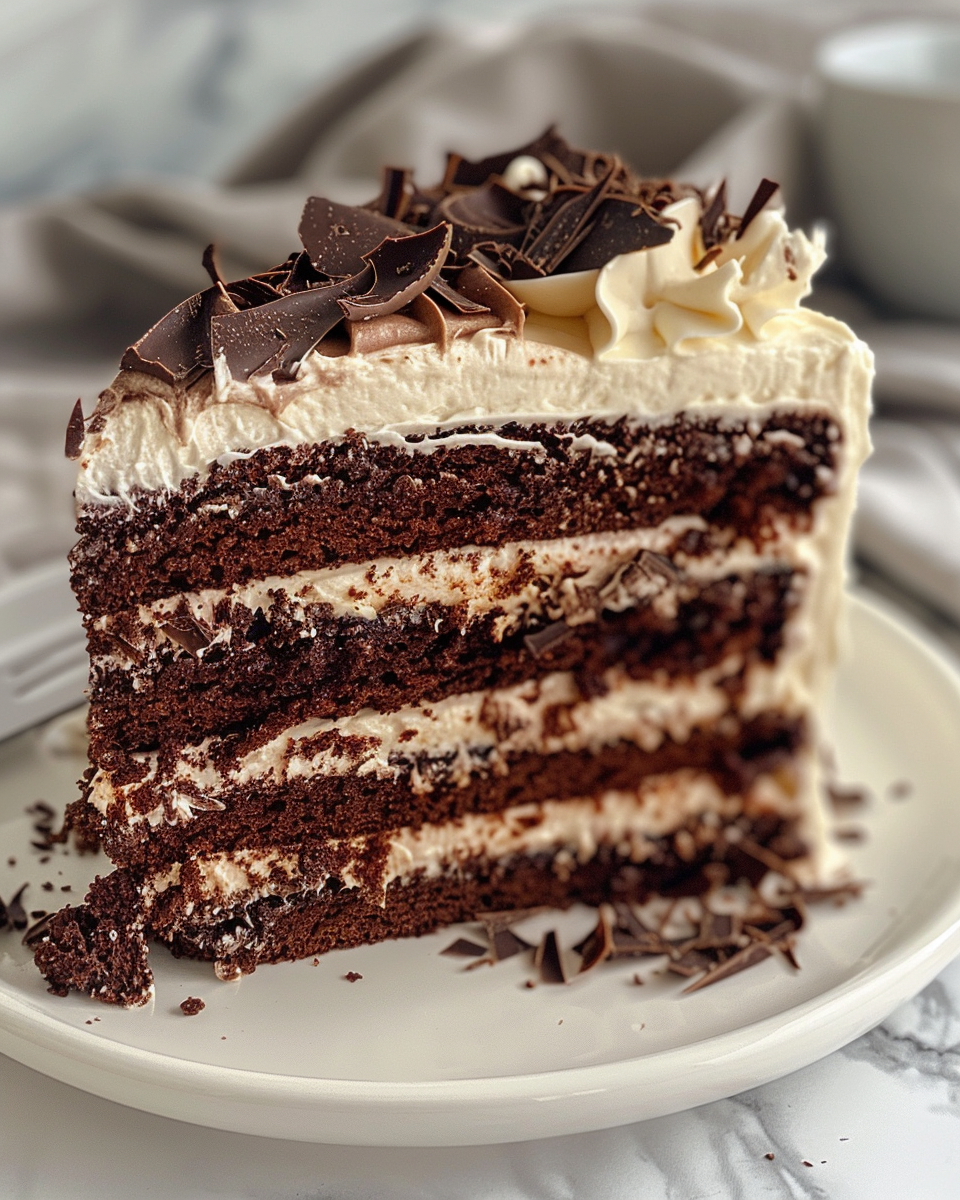
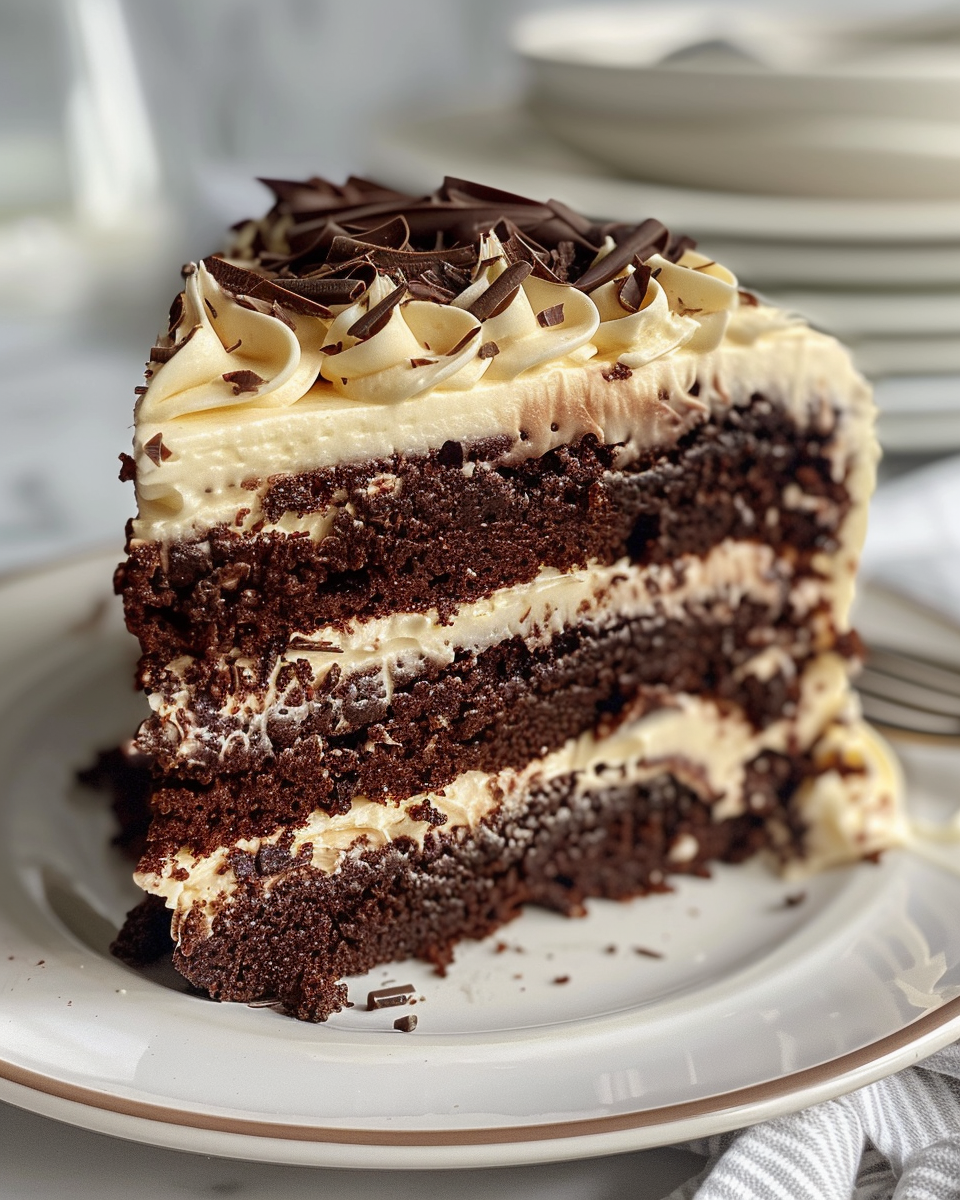
You pull that lid back and catch this incredible rich chocolate aroma that kinda wraps you up good. The cake looks dense but the crumb is so soft it melts in your mouth. You’ll notice the layers hold together real nice cause pressure cooks it evenly.
That frosting is smooth as silk. It’s got a deep cocoa taste but not too sweet so it balances the cake perfectly. You remember each bite is this warm hug of creamy and chocolate all at once.
Whether you topped it with chocolate chips or kept it plain, every forkful feels special. You’ll be thinking how heck this is way better than any box mix you tried before. It’s comfort food that you made, and it just hits different.
How to Store This for Later
- Wrap cooled cake tightly in plastic wrap and keep it in the fridge for up to 4 days.
- Freeze individual slices in airtight containers or bags if you want to save some longer.
- Frost the cake only when you plan to eat it soon for the freshest taste.
- Bring refrigerated cake to room temp before serving so it tastes like just made.
What People Always Ask Me
- Can I skip the espresso powder? Sure thing! It just boosts the chocolate flavor a bit, but your cake will be delish without it.
- What’s better quick release or natural release? Natural release keeps the cake nice and tender. Quick release can sometimes make it shrink a bit if you’re not careful.
- Can I use decaf coffee? Yep! The coffee flavor brings out richness, but it doesn’t have to be caffeinated.
- Do I have to let the cake cool in the pan? Yeah, ten minutes stop it from breaking apart when you remove it.
- What if my cake sinks in the middle? Could be undercooked or you quick released too soon. Make sure to keep slow or natural release for best results.
- Can I add chocolate chips inside the batter? Totally! Just fold them in last before pouring the batter into pans. It adds fun texture.
Looking for more moist and delicious treats? Check out our delightful Kentucky Butter Cake Cookies or the indulgent Soft & Chewy Sugar Cookies which feature similar baking techniques and guaranteed great results.
Triple Chocolate Cake (Popular Recipe!)
Ingredients
Cake and Frosting Ingredients
- 1 3/4 cups all-purpose flour spooned and leveled
- 3/4 cup unsweetened natural cocoa powder
- 1 3/4 cups granulated sugar
- 2 teaspoons baking soda
- 1 teaspoon baking powder
- 1 teaspoon salt
- 2 teaspoons espresso powder optional
- 1/2 cup vegetable oil or your fave oil substitute
- 2 eggs large, room temperature
- 2 teaspoons pure vanilla extract
- 1 cup buttermilk
- 1 cup freshly brewed strong hot coffee
- 1 1/4 cups unsalted butter softened to room temp, for frosting
- 3 1/2 cups confectioners’ sugar for frosting
- 3/4 cup cocoa powder for frosting
- a few tablespoons heavy cream for frosting
- a pinch salt for frosting
- 1 teaspoon vanilla extract for frosting
- semi-sweet chocolate chips for decoration (optional)
Instructions
Instructions
- Preheat pressure cooker by running a quick warm-up or using the sauté function for a couple minutes.
- Grease and flour your cake pans real good so cake doesn’t stick.
- In a large bowl, sift together the flour, cocoa, baking soda, baking powder, salt, and espresso powder if using. This keeps things airy and helps mix evenly.
- In another bowl, whisk sugar, oil, eggs, and vanilla extract till it’s all smooth and shiny.
- Gradually add the dry stuff into wet, stirring just till combined. Overmixing can make your cake tough.
- Pour in that hot coffee and buttermilk and stir lightly till you got a thin batter. It’ll look a bit runny but that’s totally okay.
- Pour batter evenly into the cake pans, then place them on a trivet or rack inside your pressure cooker. Add a cup of water below for the steam.
- Seal the lid and cook on high pressure for about 25 minutes. Use natural release for 10 minutes before quick releasing the rest to avoid deflating the cake.