Stewed Blackberry And Apple
The pressure builds and you start counting down minutes until you eat. You remember the first time you tried making fruit desserts in the pressure cooker. It felt kinda exciting and a little scary too. The float valve pops up, and you catch yourself staring, waiting for the steam cues to tell you the magic moment is near.
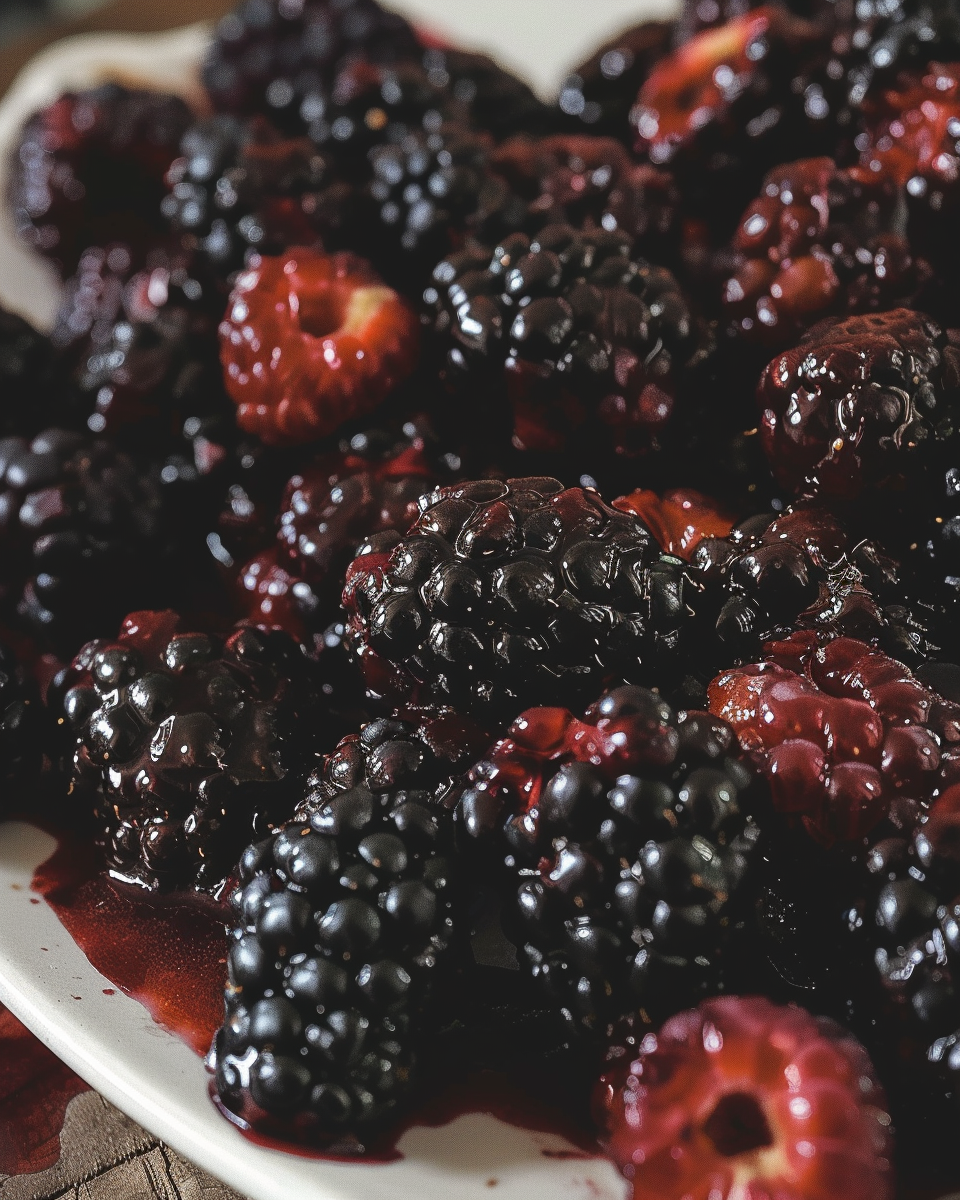
As the pressure build happens, you think about the sweet mix of blackberries and apples that’s gonna turn soft and fragrant in no time. You feel the kitchen fill with warm fruit smells, making you even hungrier. It’s a kinda comforting feeling knowing that your wait is almost over, and soon you’ll taste that creamy, fruity mess all whipped up and ready.
You start counting down the seconds, watching the clock but also watching the valve. The steam releases, and you do a quick release to stop the cooking pronto. The anticipation grows as you get ready to fold in the cream and enjoy the freshest, yummiest Blackberry & Apple Mess you’ve had in a while. This recipe works real good for a quick treat you can share or keep all to yourself.
The Truth About Fast Tender Results
- The pressure cooker makes fruit soft super fast, way quicker than stove simmering.
- Using quick release stops the fruit from getting mushy, keeps some texture.
- Natural release helps for dishes that need slow steam to keep flavors blended.
- Steam cues and float valve are your little helpers to tell when you’re done.
- This fruit mess only needs about 10 minutes under pressure for softness.
- The sugar and vanilla bring out sweet notes while preserving natural tartness.
For related ideas, check out our herb and garlic cottage cheese dip recipes and quick and easy pasta salad recipes that also excel with simple fresh ingredients.
Everything You Need Lined Up
First up, you gotta gather your 300 grams of blackberries. Fresh or frozen works, just make sure it’s ready to go. Next, grab 2 large apples, peeled, cored and chopped. Apples give that sweet crisp balance to the tart berries.
Then, scoop out 50 grams of sugar to sweeten things up right. Add 1 teaspoon of vanilla extract to give that warm and cozy flavor hint. Now you’ll want 200 ml of double cream, the creamy base that makes this dessert super dreamy.
Besides these main ingredients, you need your trusty pressure cooker and a mixing bowl. Also keep a whisk handy for whipping cream till it’s soft and fluffy. Having everything set up in front of you helps keep the process smooth and stress-free.

How It All Comes Together Step by Step
- Start by placing your chopped apples, blackberries, sugar, and vanilla extract in the pressure cooker’s inner pot. This is where the juicy stuff begins.
- Secure the lid and set your cooker to cook on high pressure for 10 minutes. You’ll wanna watch the float valve pop up, that’s your sign it’s pressurized.
- When time’s up, use quick release to let out steam fast and prevent overcooking your fruit. Be careful with the steam, it’s hot!
- Open the lid once the float valve drops and set the fruit mixture aside to cool just a bit. You don’t want it scalding your cream later, right?
- While fruit cools, grab your double cream and whisk it until soft peaks form. This step’s kinda fun and gets you closer to that creamy finish.
- Gently fold the slightly cooled fruit mixture into the whipped cream. You wanna keep it light and fluffy, so don’t overmix or you’ll lose that texture.
- Serve it up right away if you like it fresh, or chill it a little for a cool, dreamy dessert. Either way, you’re gonna love the mess you made!
Valve Hacks You Need to Know
- If you want more mushy fruit, skip the quick release and try natural release for 5 minutes instead.
- Always watch the float valve before trying to open your lid. It’s your safety buddy, letting you know when pressure’s gone.
- When the steam really starts hissing loud, that’s your cue to prepare for quick release or shut off the heat.
- If your fruit looks too loose after cooking, just pop the lid off and simmer with the lid off for a couple minutes to thicken up juices.
Your First Taste After the Wait
The first spoonful hits your tongue and you feel that sweet tartness kissing your taste buds. The blackberries bring a juicy punch, and you catch the warm apple notes mingling with vanilla.
The cream folds everything together so smooth and rich. It’s kinda like dessert hugs in every bite. You remember why you love simple fruit desserts that don’t take forever.
The slight texture from the fruit keeps it interesting instead of pure mush, and that balance makes you wanna go for seconds. Each mouthful gets better as the cold cream melts with the warm fruit mixture.
You can’t help smiling cause this easy recipe turned out just like you hoped. It’s that kinda comfort food that feels fancy but really comes from your own kitchen skills.
How to Store This for Later
If you don’t finish all your mess right away, no worries. You can cover it tightly and stash it in the fridge. It stays good for up to 3 days. Just give it a gentle stir before serving again.
For longer storage, you can freeze it in an airtight container. Freeze in portions so you can thaw small amounts easily. When ready, thaw overnight in the fridge.
Re-whipping the cream after thawing might be needed to bring back that fluffy creaminess. Use a hand whisk or mixer to freshen it up before serving. This way your dessert tastes just as nice later on.
Your Most Asked Questions Answered
- Can I use frozen blackberries? Yeah, frozen works great and often comes already soft after cooking.
- What’s the best apple type? Any slightly sweet apple like Fuji or Gala works well to balance tart berries.
- Can I skip the sugar? Sure, but your mess will be more tart and less sweet. Adjust to your taste.
- How long should I quick release? Just press the valve until steam fully stops escaping, about 1-2 minutes tops.
- Can I make this dairy-free? You can swap double cream for coconut cream whipped up the same way.
- What if my fruit looks watery? No worries, just leave the lid off and simmer for a bit to thicken juices.
Check out more cozy and fast dishes like our quick and easy pasta salad recipes and herb and garlic cottage cheese dip recipes for your next meal inspiration.

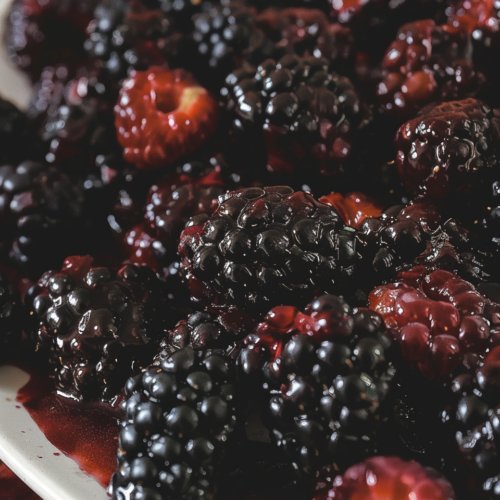
Blackberry & Apple Mess in Your Pressure Cooker
Equipment
- 1 Pressure cooker
- 1 Mixing bowl
- 1 Whisk
Ingredients
Main Ingredients
- 300 g Blackberries fresh or frozen
- 2 Apples large, peeled, cored and chopped
- 50 g Sugar
- 1 tsp Vanilla extract
- 200 ml Double cream
Instructions
Instructions
- Place chopped apples, blackberries, sugar, and vanilla extract in the pressure cooker’s inner pot.
- Secure the lid and cook on high pressure for 10 minutes, watching the float valve pop up.
- Use quick release to let out steam fast and prevent overcooking the fruit.
- Open the lid after the float valve drops and set the fruit mixture aside to cool slightly.
- Whisk the double cream until soft peaks form.
- Gently fold the cooled fruit mixture into the whipped cream and serve fresh or chilled.